Monitors & notifications

Create, test, and operate metric-based alerts for your LLM applications.

  1. Sign up. Create an account at platform.respan.ai.
  2. Create an API key. Generate one on the API keys page.
  3. Send data. Instrument your application with tracing or route requests through the Gateway so the monitor has spans to evaluate.

Add the Docs MCP to your AI coding tool to get help building with Respan. No API key is needed.

1{
2 "mcpServers": {
3 "respan-docs": {
4 "url": "https://mcp.respan.ai/mcp/docs"
5 }
6 }
7}

What is a monitor?

A monitor is a saved rule that aggregates a metric over a time window and checks it against a threshold. When the condition is met, the monitor creates an alert and sends a notification to the configured destination.

Use:

  • Metrics dashboards to explore trends and choose a useful threshold.
  • Monitors to watch that threshold continuously.
  • View and debug traces to investigate the spans behind a change.
  • Online evals to score production outputs. An online eval is a separate automation, not a monitor.

For example, you can alert when span volume exceeds a count, error rate increases, latency crosses a limit, or cost grows beyond a budget for the selected window.

A notification confirms that a configured delivery action ran. It is not the same thing as a provider-status alert, a Gateway spending limit, or an online evaluation.

Create a monitor

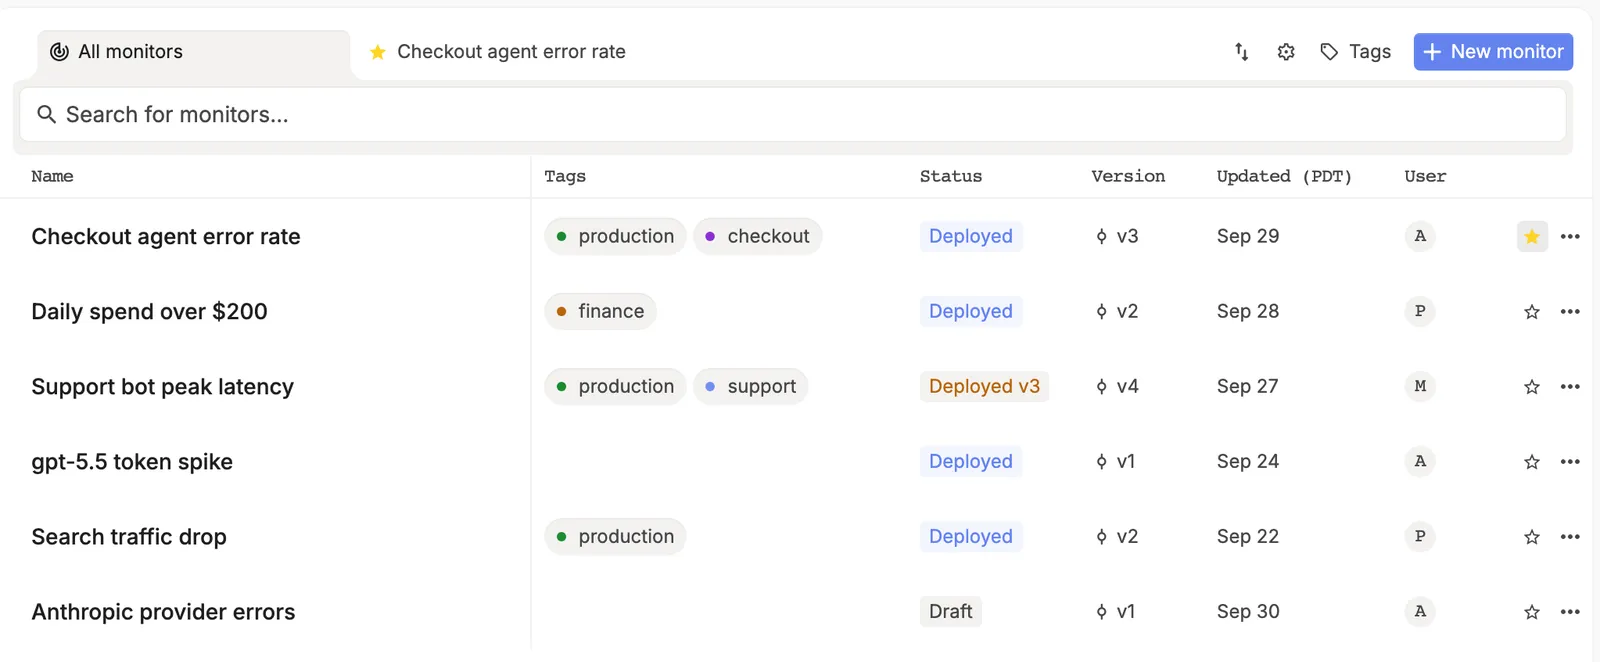
Go to Monitors and select New monitor. You can create a monitor from scratch or start with a cost-spike, high-error-rate, or model-error template.

Respan Monitors onboarding page with New monitor, Docs, and starter cards for creating a monitor from scratch or from cost-spike, high-error-rate, and model-error templates.

Templates prefill part of the configuration. Review every trigger, window, filter, recipient, subject, and message before deployment; a template does not know what is normal for your application.

Name and organize the monitor

Give the monitor a specific name such as Production support-agent error rate. Add a description that explains what the alert means and what the responder should inspect. Labels can help distinguish an application, team, environment, or severity.

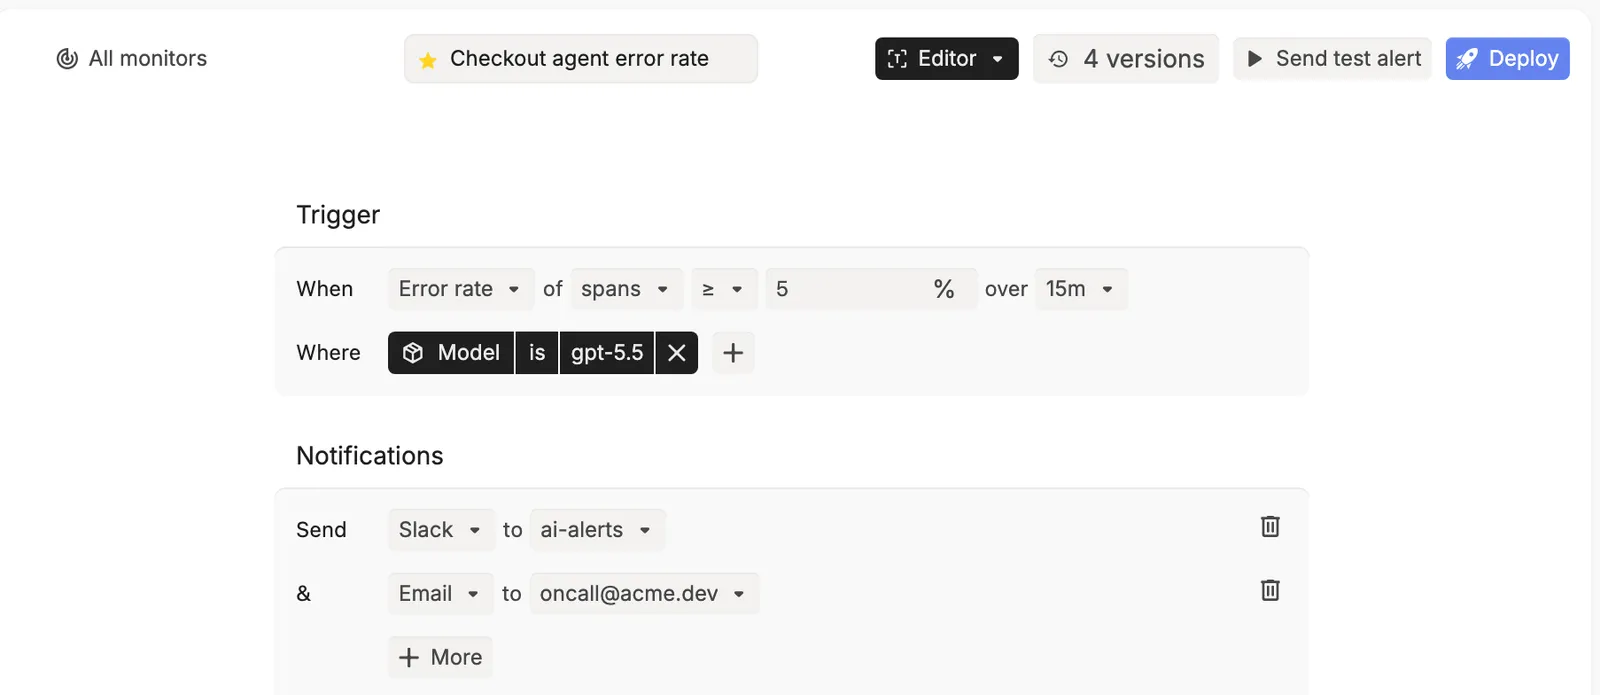
The editor has two primary sections:

  • Trigger defines which spans are measured and when the condition is met.
  • Notifications defines how the alert is delivered.

The top navigation also provides Editor, JSON, and Metrics views, plus Send test alert, Deploy, and version controls.

Respan monitor Editor showing a count-of-spans trigger over five minutes, a Where control, email notification fields, Send test alert, Deploy, JSON, Metrics, and version controls.

Define the trigger

The visual editor expresses a trigger as a sentence:

When [metric] of [source] [operator] [threshold] over [window]

The example above reads: count matching spans, compare the count with 100, and evaluate it over a five-minute aggregation window.

Choose a metric and source

The metric menu groups the available signals into:

  • Count
  • Errors
  • Tokens
  • Cost
  • Latency
  • Limit
Respan monitor metric menu grouped into Count, Errors, Tokens, Cost, Latency, and Limit categories.

Pay attention to the source shown after of. When the source is spans, a count represents matching spans, not traces or conversations. One multi-step trace can therefore contribute more than one span to the result.

Choose an operator and threshold with the metric’s unit in mind:

  • Counts and tokens use whole-number thresholds.
  • Error-rate metrics use percentage thresholds.
  • Cost metrics use currency values.
  • Latency metrics use time values.

The exact options depend on the selected metric.

Choose the aggregation window

The over control sets how much recent data is aggregated for the condition. The current editor offers:

  • 5, 10, 15, or 30 minutes
  • 1, 4, or 12 hours
  • 1 or 7 days
Respan monitor window menu listing five, ten, fifteen, and thirty minutes; one, four, and twelve hours; and one and seven days.

Choose the shortest window that still contains enough traffic to be meaningful. A five-minute window can catch an incident quickly but may be noisy on low-volume applications. A longer window is steadier but reacts more slowly.

The aggregation window is not a notification cooldown. The current visual editor does not show a separate evaluation cadence, cooldown, missing-data policy, or recovery-notification setting. Do not infer those behaviors from the selected window.

Scope the monitor with Where

Select Where to restrict which spans contribute to the metric. The current menu includes:

  • Behavior
  • Error type, fault domain, and error
  • Customer ID
  • Prompt
  • API key
  • Provider
  • Model
  • Custom properties
Respan monitor Where menu listing behavior, error, customer, prompt, API key, provider, model, and custom-property fields.

Use the same field that you use to segment traffic on the Dashboard or Traces page. For example, scope a monitor to one model or to a custom property such as metadata.feature = "support-agent".

The captured editor does not expose trace-level matching or an explicit environment field. If environment is important, confirm how your project records it—such as through an API key or custom property—before deploying the monitor.

Inspect the generated configuration

Open JSON to inspect and copy the workflow configuration behind the visual editor. The generated configuration identifies the event type, aggregation metric, window, and whether previous-interval values are retained.

Respan monitor JSON tab showing a version-one workflow with request-log event type, span-count aggregation, a five-minute time step, and previous-interval comparison enabled.

The generated JSON may use internal ingestion terms such as request_log even when the visual editor says spans. Treat the Editor as the task-oriented representation and JSON as the advanced configuration view.

The screenshot shows is_comparing_to_previous: true, which retains values from the preceding interval for a supported aggregation. That flag alone does not prove that the visible threshold is a relative-change condition. Confirm the complete condition in the current Editor or JSON before relying on previous-interval behavior.

Do not place destination secrets, webhook credentials, customer data, or prompt content in labels, descriptions, or other fields that may appear in configuration or activity views.

Configure notifications

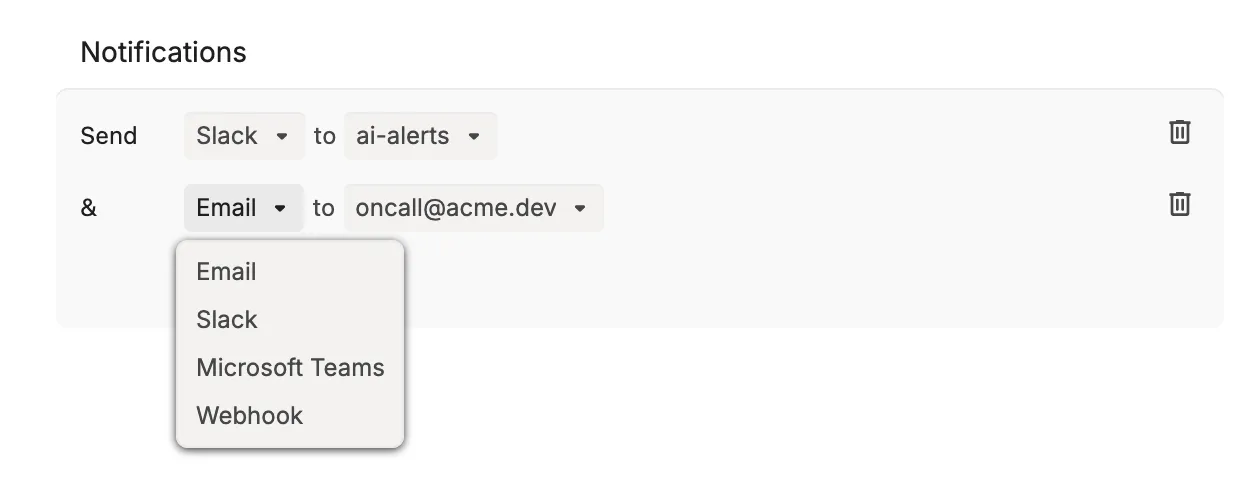
In Notifications, choose a delivery method and destination. The current editor shows:

  • Email
  • Slack
  • Microsoft Teams
  • Webhook
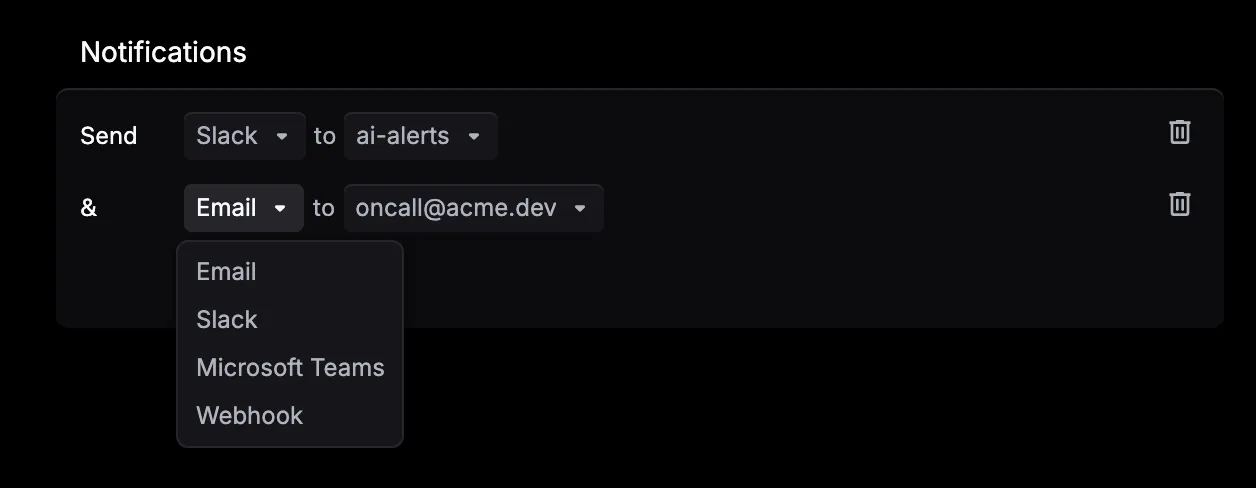
Respan monitor notification menu listing Email, Slack, Microsoft Teams, and Webhook without a destination selected.

For email, Slack, and Microsoft Teams, select a connected destination. For a webhook, use an endpoint intended to receive automated alert traffic. Customize the subject and message so the responder can understand the affected metric, threshold, window, and scope.

The editor example uses {{event_count}} in the message body. This variable inserts the aggregated event count for compatible templates. Only use variables offered or prefilled by the current editor; unsupported names may render without the value you expect.

This page confirms webhook selection in the monitor editor, but it does not define a webhook payload contract, signing method, retry schedule, or delivery guarantee. Validate those details before using a monitor webhook for paging or automated remediation.

Test and deploy

Before deployment:

  1. Check the monitor name, metric, source, operator, threshold, and window.
  2. Check every Where condition against the fields present on actual spans.
  3. Select the intended notification destination.
  4. Review the subject and message variables.
  5. Select Send test alert and confirm that the message reaches the expected destination.
  6. Select Deploy when the configuration is complete.

If Deploy is unavailable, return to the Editor and look for an incomplete trigger, missing destination, unsaved change, or validation error. The exact validation checklist is not visible in the current captured UI.

Testing delivery does not prove that the production threshold will fire as intended. After deployment, use Metrics to check whether the monitor is receiving matching data and producing runs.

Understand current operational boundaries

The following distinctions prevent false confidence:

BehaviorWhat is visible or verifiedWhat you should not assume
AggregationThe trigger aggregates the selected metric over the over window.The window is also the evaluation cadence or cooldown.
Span countA Count of spans trigger counts matching spans.One count equals one trace, thread, request, or user session.
Previous intervalGenerated JSON can retain the preceding interval.Every metric supports relative comparison, or the visible threshold automatically uses it.
Repeated firingsThe workflow system supports cooldown-based throttling, but no cooldown control is visible in the captured monitor editor.Repeated threshold matches are automatically deduplicated for this monitor.
No dataThe Metrics view can be used to check for runs.No notification means the application is healthy. It can also mean no matching data, delayed ingestion, or a delivery problem.
RecoveryNo recovery setting is visible in the captured editor.A resolved notification is sent automatically.
Alert historyThe Editor exposes a Metrics tab and version control.Exact run states, retries, pause/resume behavior, rollback, or retention are guaranteed without validating them in your workspace.
InvestigationDashboard and Traces can be filtered using the same fields.A notification always contains a direct link with the monitor’s time range and filters preserved.

The reviewed workspace did not contain a deployed monitor with populated run history. Alert recovery, notification retries, pause/resume, version restoration, and alert-to-trace drill-down were therefore not verified in the current UI and are intentionally not described here as guaranteed behavior.

Investigate an alert

Until a notification provides a verified context-preserving drill-down:

  1. Open the monitor and record its metric, aggregation window, threshold, and Where conditions.
  2. Open Metrics and use a time range that covers the firing window.
  3. Apply the same model, provider, customer, API-key, prompt, error, or custom-property scope.
  4. Open Traces and apply the same scope.
  5. Inspect the matching trace hierarchy to find the span responsible for the cost, latency, error, or volume change.

Use a small time buffer around the firing window when ingestion may be delayed.

Troubleshooting

The monitor never fires

  • Confirm the application is sending spans to the same project.
  • Remove or broaden Where conditions temporarily.
  • Check whether the selected field exists on recent spans.
  • Check whether the threshold is reachable for the selected window.
  • Review Metrics for completed runs before treating silence as a healthy result.

The count is higher than expected

Check the source. Count of spans counts each matching span, so one trace with multiple matching steps can increment the metric multiple times.

Notifications are too frequent

  • Narrow the Where conditions.
  • Increase the threshold or aggregation window.
  • Inspect JSON or the advanced workflow configuration for a throttle task before assuming a cooldown exists.
  • If no cooldown is configured, route the monitor to a destination that can tolerate repeated notifications while you refine the rule.

A test alert does not arrive

  • Confirm that a destination is selected and connected.
  • Verify the email address, Slack channel, Teams destination, or webhook endpoint.
  • Check spam filters and destination permissions.
  • For webhooks, log non-secret response metadata on your receiver so delivery failures are diagnosable.

Previous-interval behavior is unclear

Inspect JSON for is_comparing_to_previous, then verify which current and previous values the condition uses. Do not infer a percentage-change alert from that flag alone.